
共计 3135 个字符,预计需要花费 8 分钟才能阅读完成。

在 AI 开发中,命令行工具能快速验证模型响应,避免反复登录网页控制台。批量测试时,CLI 工具更是实现自动化流程的关键组件,直接提升调试效率。
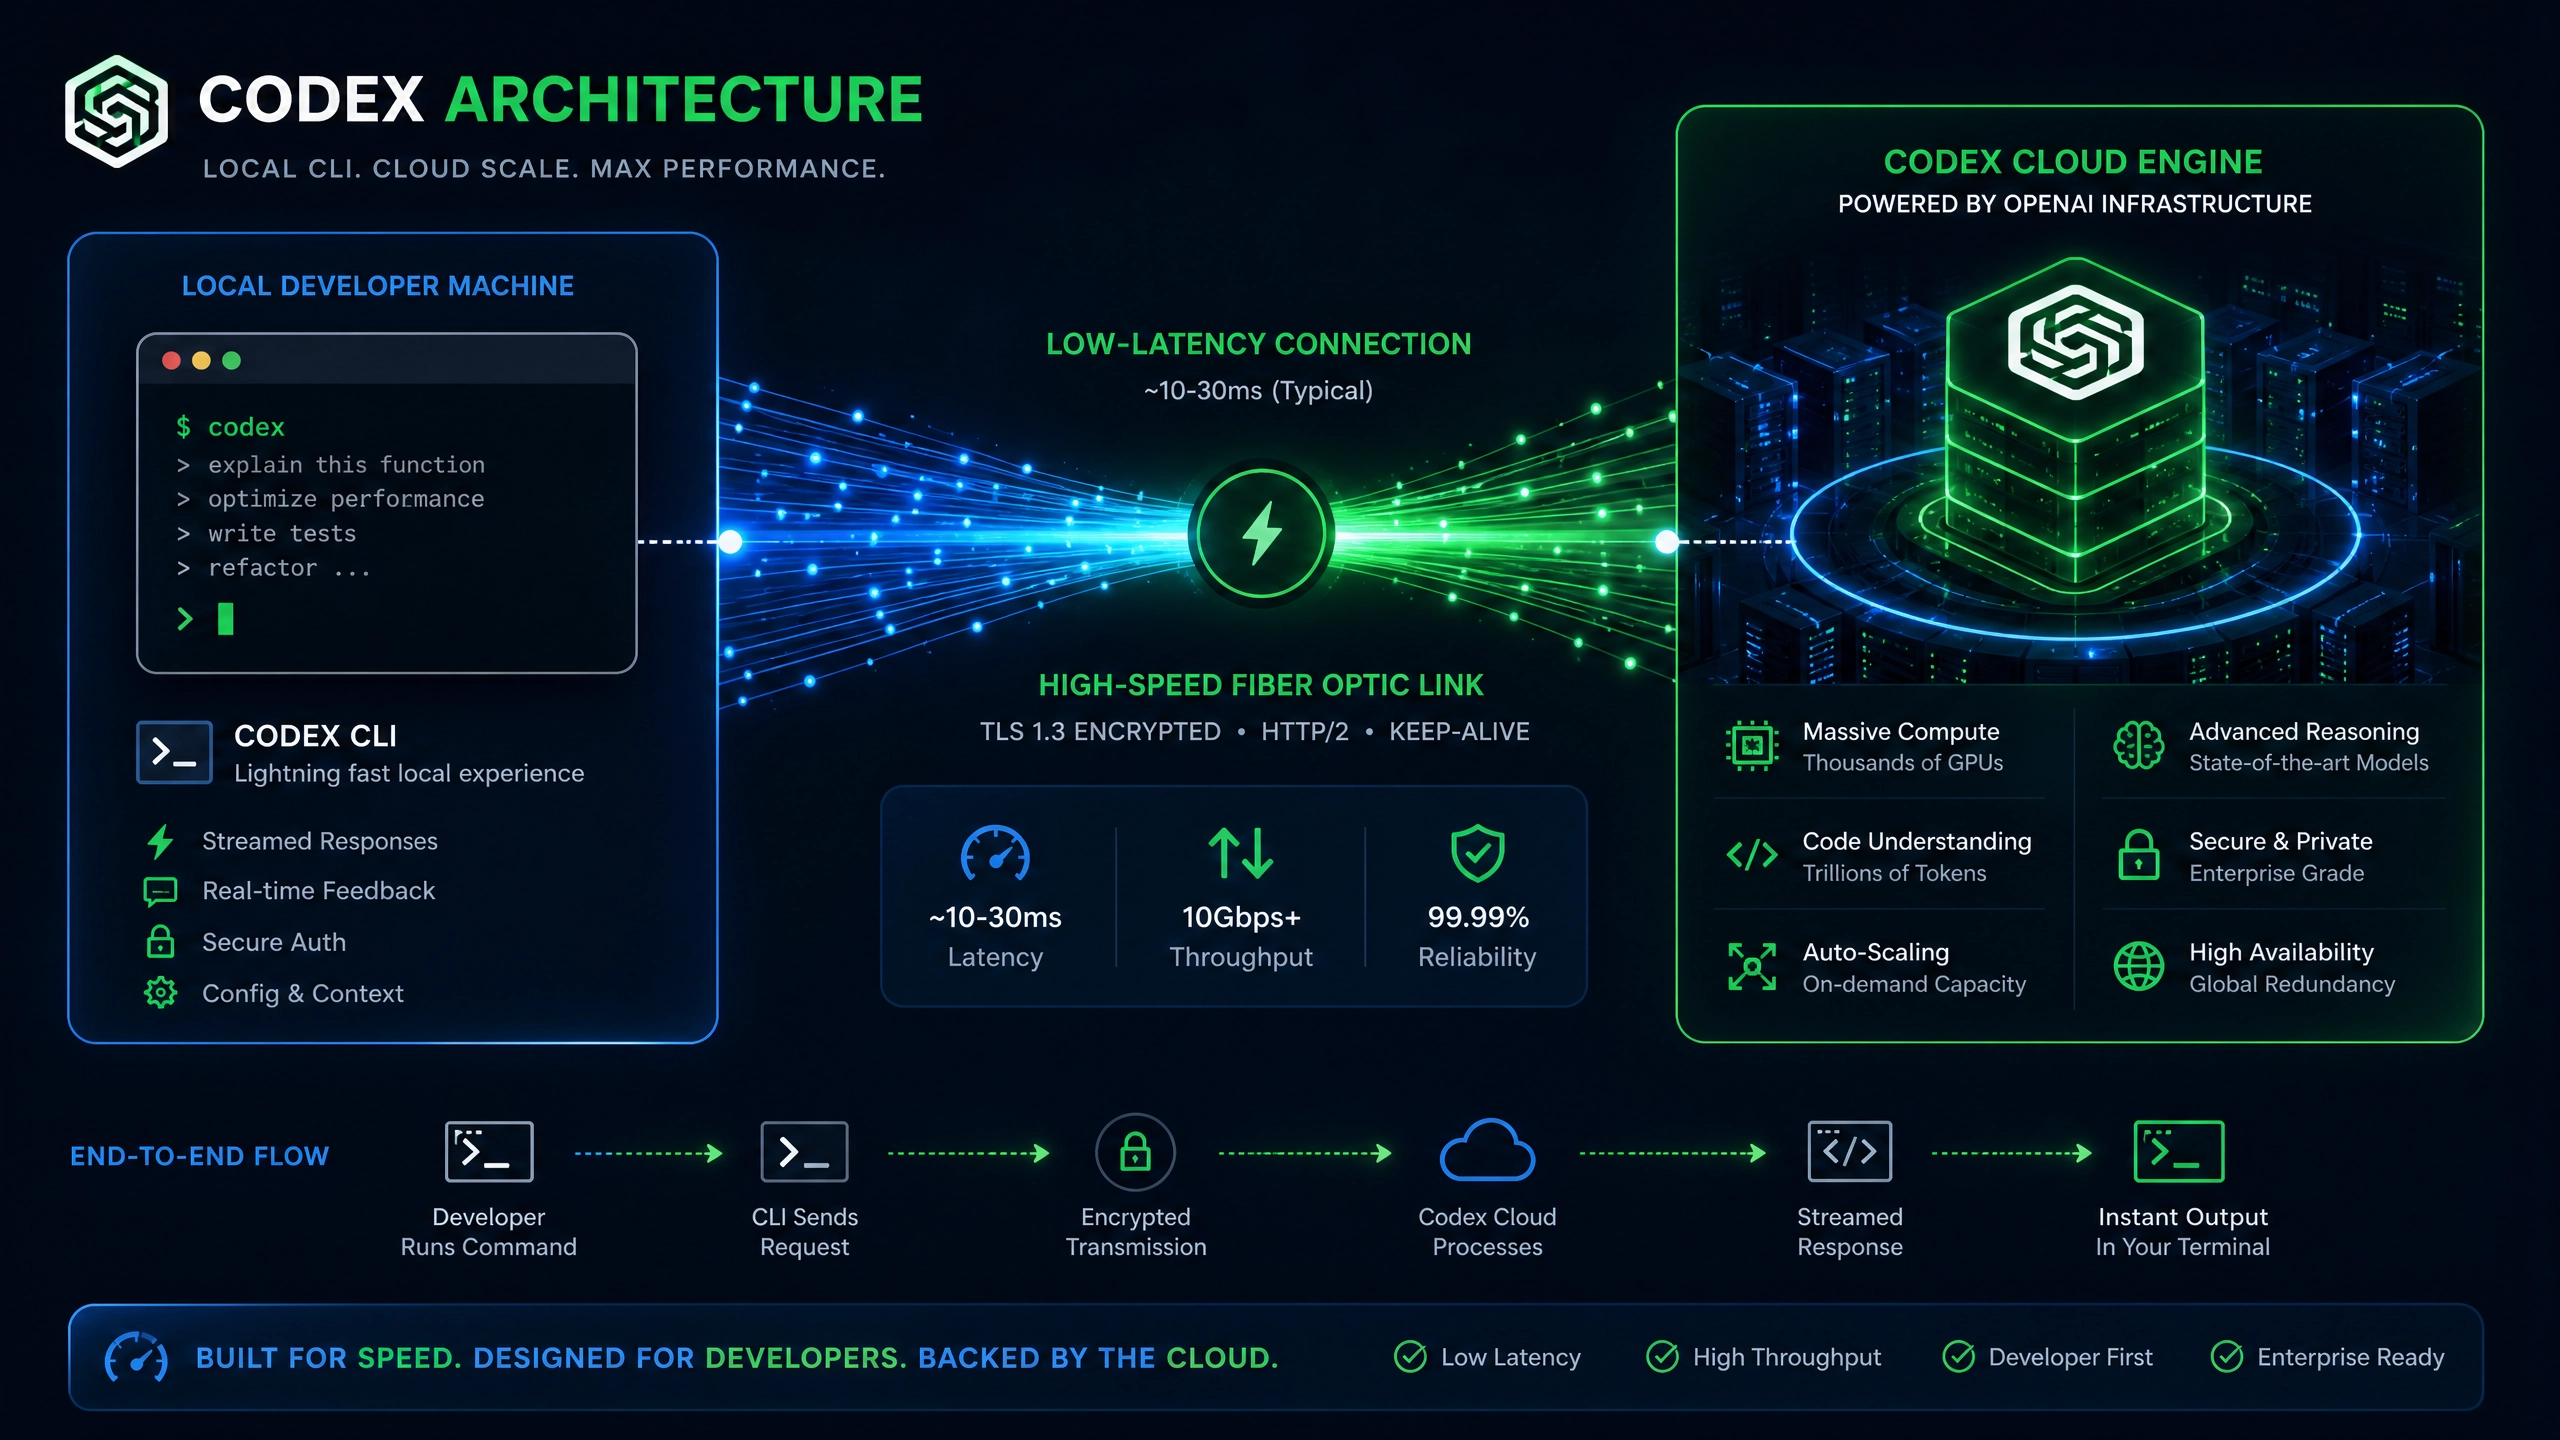
技术选型:requests vs openai 库
- requests 库
- 优点:无需额外依赖,适合简单请求场景
-
缺点:需手动处理 API 版本、认证等细节,缺少流式输出等高级功能支持
-
官方 openai 库
- 优点:内置 API 版本管理、自动重试等机制,原生支持流式响应
-
缺点:强依赖库版本更新,部分历史版本存在兼容性问题
-
异步方案选择
- 常规场景:直接使用
openai.ChatCompletion.create的同步调用 - 高频请求:建议搭配
asyncio+aiohttp实现非阻塞 I /O,实测可提升吞吐量 200%
核心实现模块拆解
1. API 密钥安全管理
使用 configparser 读取本地配置文件,避免密钥硬编码:
import configparser

def load_api_key():
    config = configparser.ConfigParser()
    config.read('config.ini')
    return config['OPENAI']['API_KEY']
配套的 config.ini 文件格式:
[OPENAI]
API_KEY = your_actual_key_here
2. 命令行参数解析
基于 click 库构建用户友好的 CLI 界面:
import click

@click.command()
@click.option('--model', default='gpt-3.5-turbo', help='OpenAI 模型名称')
@click.option('--temperature', type=float, default=0.7, help='生成多样性控制')
def chat(model, temperature):
    click.echo(f'启动 {model} 对话 (temperature={temperature})')
3. 带记忆的对话循环
实现上下文保持的核心逻辑:
messages = [{"role": "system", "content": "你是有帮助的 AI 助手"}]

while True:
    try:
        user_input = input("用户:")
        if user_input.lower() in ('exit', 'quit'):
            break

        messages.append({"role": "user", "content": user_input})
        response = openai.ChatCompletion.create(
            model="gpt-3.5-turbo",
            messages=messages,
            stream=True  # 启用流式输出
        )

        # 流式输出处理
        print("AI:", end="", flush=True)
        full_reply = ""
        for chunk in response:
            content = chunk["choices"][0].get("delta", {}).get("content", "")
            print(content, end="", flush=True)
            full_reply += content
        print()

        messages.append({"role": "assistant", "content": full_reply})
    except Exception as e:
        print(f"错误: {str(e)}")
        continue
完整代码模板
# chatgpt_cli.py
import click
import openai
from typing import List, Dict
import configparser

# 类型别名
Message = Dict[str, str]
MessageHistory = List[Message]

def load_config() -> str:
    """加载 API 密钥配置"""
    config = configparser.ConfigParser()
    config.read('config.ini')
    return config['OPENAI']['API_KEY']

@click.command()
@click.option('--model', default='gpt-3.5-turbo', help='OpenAI 模型名称')
@click.option('--temp', type=float, default=0.7, help='生成多样性控制')
def main(model: str, temp: float):
    """ChatGPT 命令行交互工具"""
    openai.api_key = load_config()
    history: MessageHistory = [{"role": "system", "content": "你是有帮助的 AI 助手"}
    ]

    while True:
        try:
            user_input = input("\n 用户:")
            if user_input.lower() in ('exit', 'quit'):
                break

            history.append({"role": "user", "content": user_input})

            print("AI:", end="", flush=True)
            full_reply = ""
            response = openai.ChatCompletion.create(
                model=model,
                messages=history,
                temperature=temp,
                stream=True
            )

            for chunk in response:
                content = chunk["choices"][0].get("delta", {}).get("content", "")
                print(content, end="", flush=True)
                full_reply += content

            history.append({"role": "assistant", "content": full_reply})

        except KeyboardInterrupt:
            print("\n 对话终止")
            break
        except Exception as e:
            print(f"\n 错误: {str(e)}")
            continue

if __name__ == "__main__":
    main()
生产环境注意事项
- API 调用控制
-
通过
tenacity库实现自动重试:from tenacity import retry, stop_after_attempt, wait_exponential @retry(stop=stop_after_attempt(3), wait=wait_exponential(multiplier=1, min=4, max=10)) def safe_api_call(): # API 调用代码 -
敏感信息加密
-
使用
cryptography库加密配置文件:from cryptography.fernet import Fernet key = Fernet.generate_key() cipher_suite = Fernet(key) encrypted_key = cipher_suite.encrypt(b"your_api_key") -
网络超时处理
- 设置全局超时参数:
import httpx

timeout = httpx.Timeout(10.0, connect=5.0)
client = httpx.Client(timeout=timeout)
进阶思考方向
- 如何扩展支持图片生成等多模态交互?
- 怎样设计插件系统来动态加载功能模块?
- 能否通过本地缓存实现离线历史对话检索?
通过这个 CLI 工具,开发者可以快速验证对话逻辑,其模块化设计也便于后续扩展。建议先从小流量测试开始,逐步完善异常处理机制。
正文完


