
共计 2446 个字符,预计需要花费 7 分钟才能阅读完成。

为什么需要 AI Agent?
传统的程序就像一台自动售货机——你按下固定的按钮,它给出固定的响应。而 AI Agent(智能体)更像是一个有自主能力的助手:它能理解模糊的指令(比如 ” 最近的咖啡店 ”),通过感知环境(定位)、决策思考(筛选结果)、执行动作(返回路线)来完成复杂任务。以自动驾驶 Agent 为例:
- 感知:摄像头和雷达识别红灯
- 决策:大模型判断需要刹车
- 执行:发送指令给制动系统
这种循环称为 P -D- A 循环(Perceive-Decide-Act),是 Agent 的核心特征。
单体 vs 多 Agent 系统
单体 Agent 架构 适合明确单一的任务场景,比如个人语音助手:
flowchart LR
   用户 -->| 语音输入 |Agent-->| 语音输出 | 用户
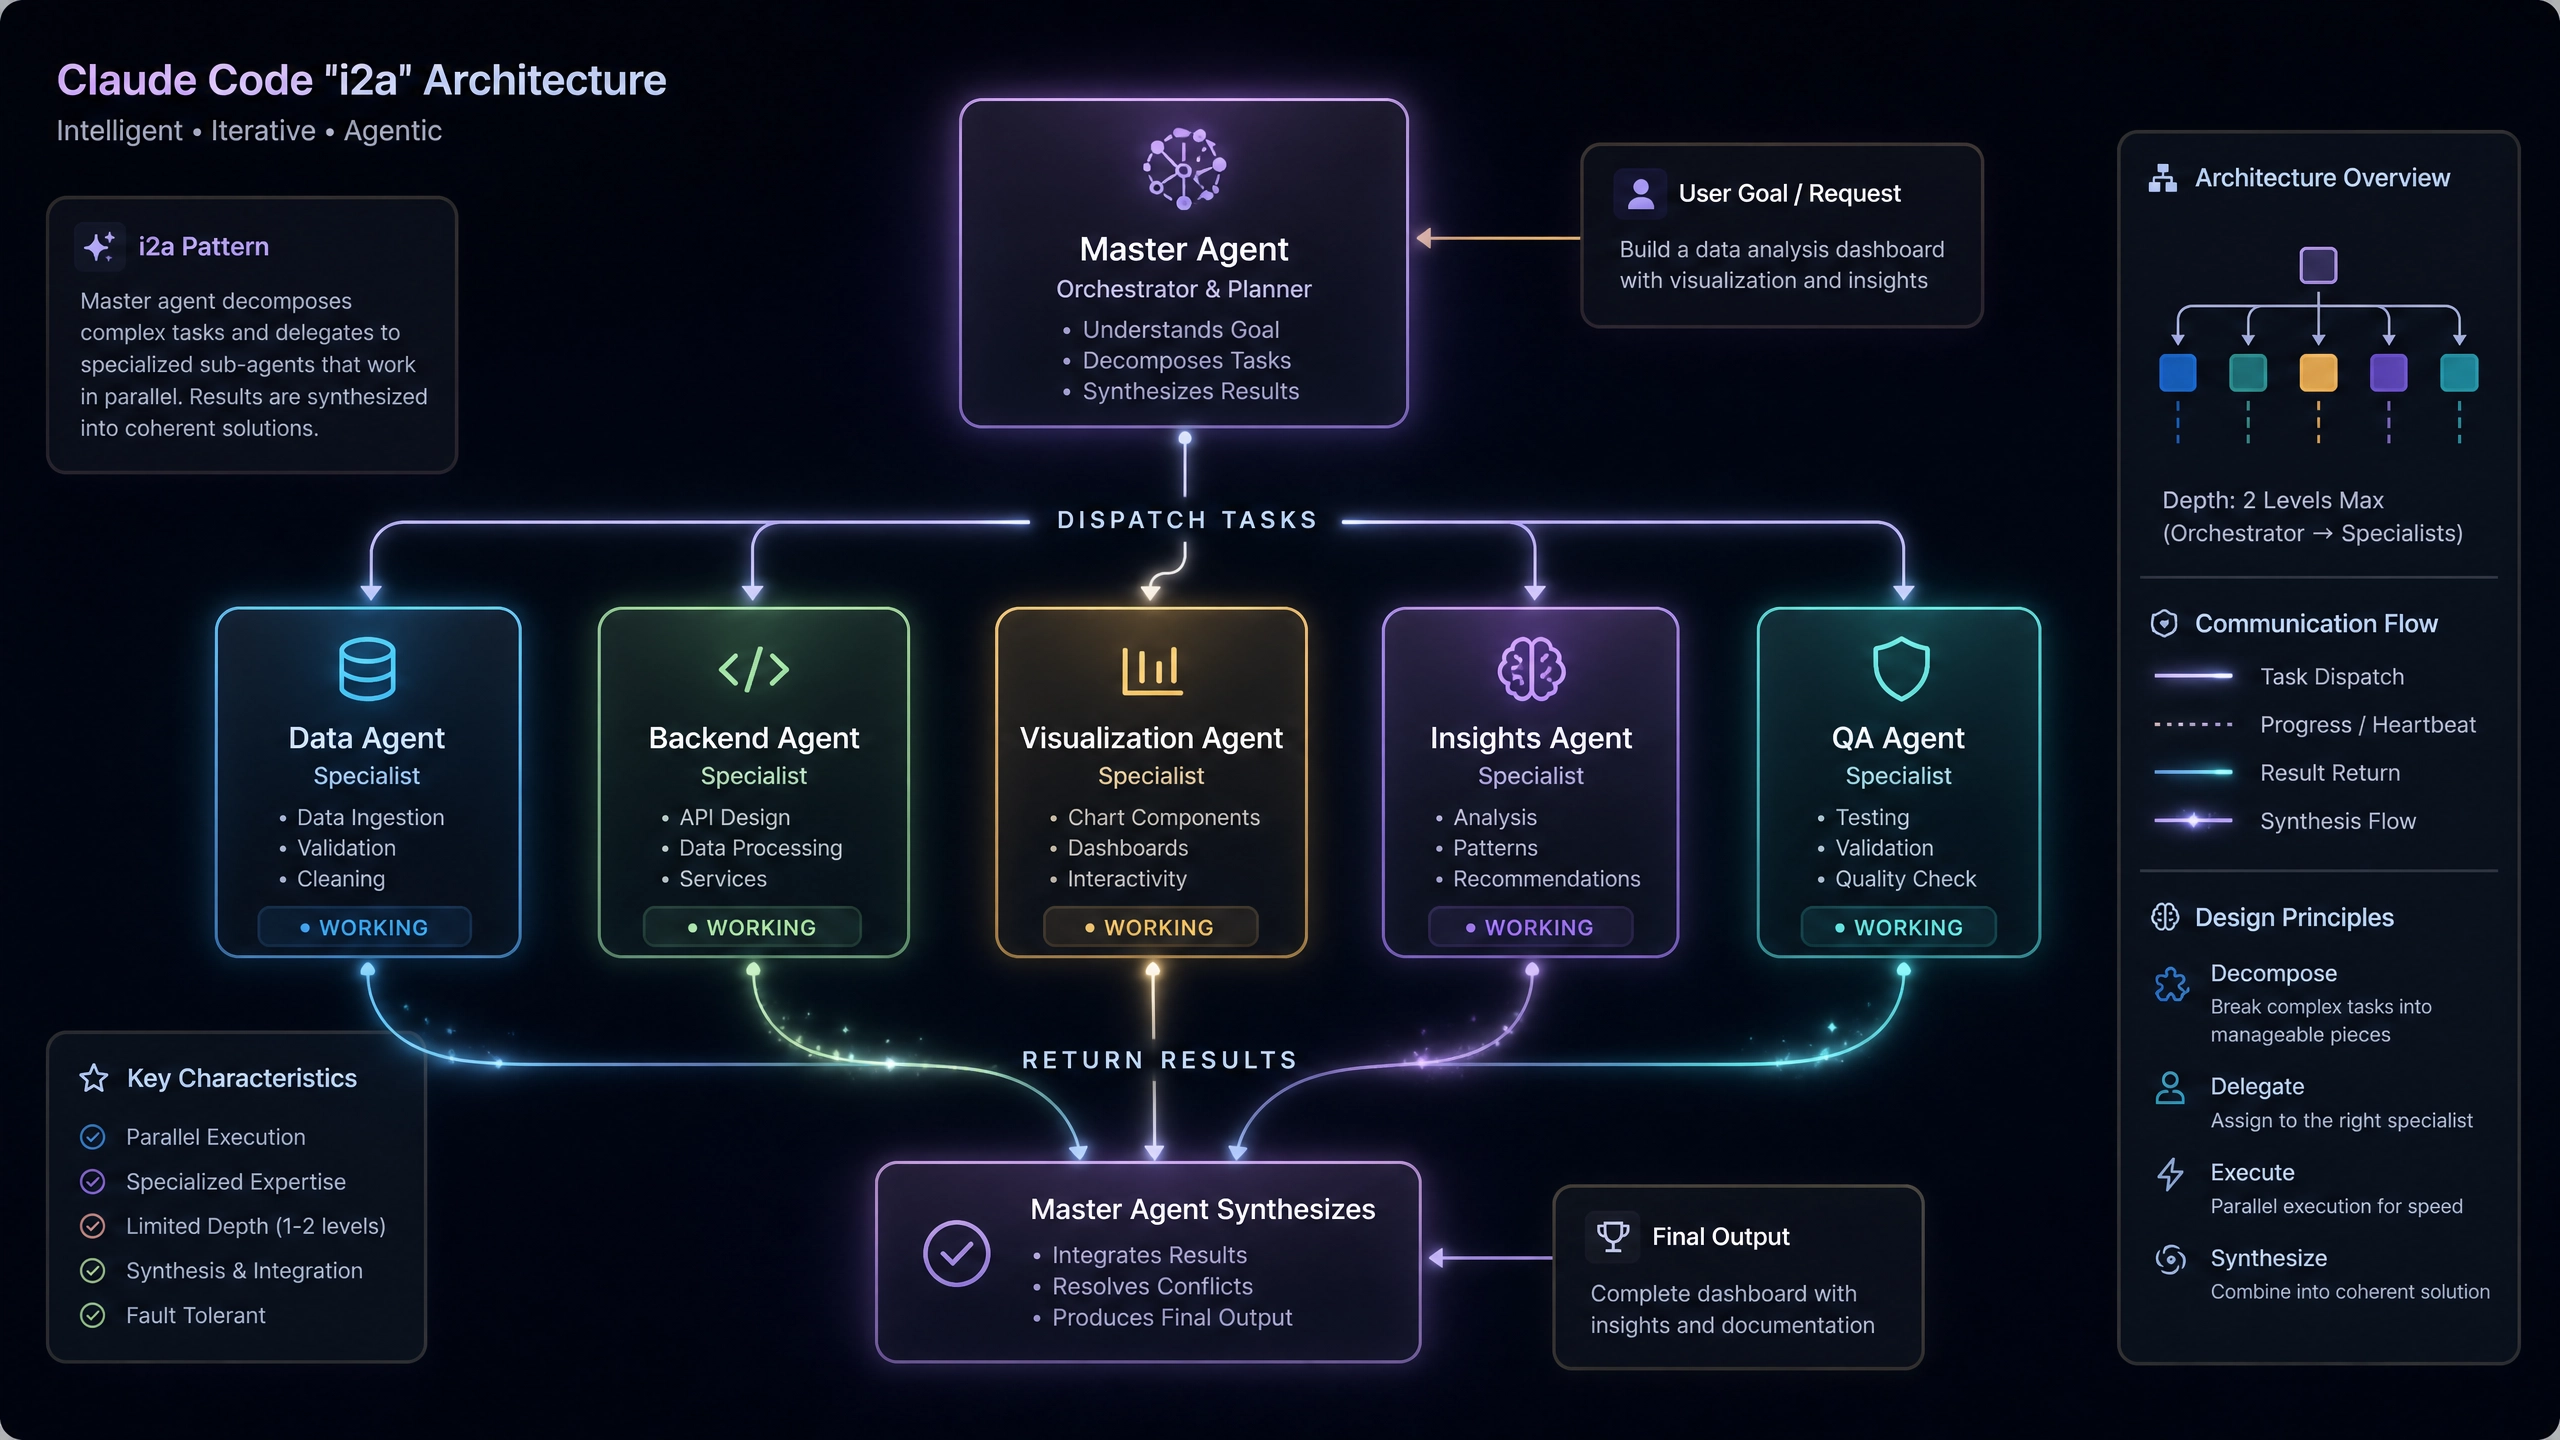
多 Agent 系统 则像一支分工明确的团队。比如电商客服场景:
flowchart LR
   用户 --> 路由 Agent
   路由 Agent-->| 退换货 | 售后 Agent
   路由 Agent-->| 商品咨询 | 导购 Agent
实战:天气查询 Agent
下面用 Python 实现一个具备对话记忆、API 调用能力的天气 Agent。完整代码需要安装:
pip install openai requests python-dotenv1. 意图识别
利用 OpenAI 的 Function Calling 功能解析用户意图:
from typing import TypedDict
import openai

class WeatherParams(TypedDict):
    location: str
    date: str  # 预留字段

def detect_intent(query: str) -> WeatherParams | None:
    """使用大模型识别天气查询意图"""
    response = openai.ChatCompletion.create(
        model="gpt-3.5-turbo",
        functions=[{
            "name": "get_weather",
            "parameters": {
                "type": "object",
                "properties": {"location": {"type": "string"}
                },
                "required": ["location"]
            }
        }],
        messages=[{"role": "user", "content": query}]
    )

    if response.choices[0].message.get("function_call"):
        return json.loads(response.choices[0].message.function_call.arguments)
    return None
2. 工具集成
封装天气 API 调用工具(示例使用假 API):
import requests
from typing import Optional

class WeatherTool:
    API_KEY: str = os.getenv("WEATHER_API_KEY")

    @classmethod
    def call(cls, params: WeatherParams) -> Optional[str]:
        try:
            resp = requests.get(
                "https://api.weather.com/v1/query",
                params={"location": params["location"], "key": cls.API_KEY},
                timeout=5  # 重要!设置超时
            )
            return f"{params['location']} 天气: {resp.json()['forecast']}"
        except Exception as e:
            print(f"天气 API 调用失败: {e}")
            return None
3. 记忆管理
实现带 token 限制的对话历史:
from typing import List, Dict

def trim_history(history: List[Dict], max_tokens: int = 2048) -> List[Dict]:
    """滑动窗口截断历史对话"""
    current_len = sum(len(m["content"]) for m in history)

    while current_len > max_tokens and len(history) > 1:
        removed = history.pop(1)  # 保留系统提示
        current_len -= len(removed["content"])

    return history
性能优化技巧
- 延迟缓解:
- 预处理:提前加载常用地点数据
-
缓存:对相同查询缓存 5 分钟
-
超时处理:
from concurrent.futures import ThreadPoolExecutor, TimeoutError

with ThreadPoolExecutor() as executor:
    future = executor.submit(WeatherTool.call, params)
    try:
        result = future.result(timeout=8)  # 比 API 超时略长
    except TimeoutError:
        return "查询超时,请稍后再试"
避坑指南
安全防护:
– 永远不要硬编码 API 密钥
– 使用环境变量或密钥管理服务
无限循环防护:
MAX_STEPS = 5  # 限制最大对话轮次

class Agent:
    def __init__(self):
        self.step_count = 0

    def run(self, query: str):
        if self.step_count >= MAX_STEPS:
            return "已达到最大交互次数"
        self.step_count += 1
        # ... 处理逻辑
进阶思考
如何让 Agent 自我监控?考虑这些方向:
– 记录工具调用成功率
– 分析对话中的用户不满情绪
– 当错误率超标时自动切换备用模型
现在,你已经掌握了 AI Agent 的基础架构设计方法。下一步可以尝试:
1. 添加更多工具(日历、计算器等)
2. 实现多 Agent 协作
3. 引入长期记忆(Long-term Memory)存储
建议从简单的个人自动化助手开始实践,逐步构建更复杂的系统。
正文完


