
共计 2708 个字符,预计需要花费 7 分钟才能阅读完成。

背景痛点:为什么需要 AI Agent
传统脚本程序通常按照预设的固定流程执行,而 AI Agent 则具备自主决策和动态响应能力。对于开发者来说,这带来了几个认知门槛:
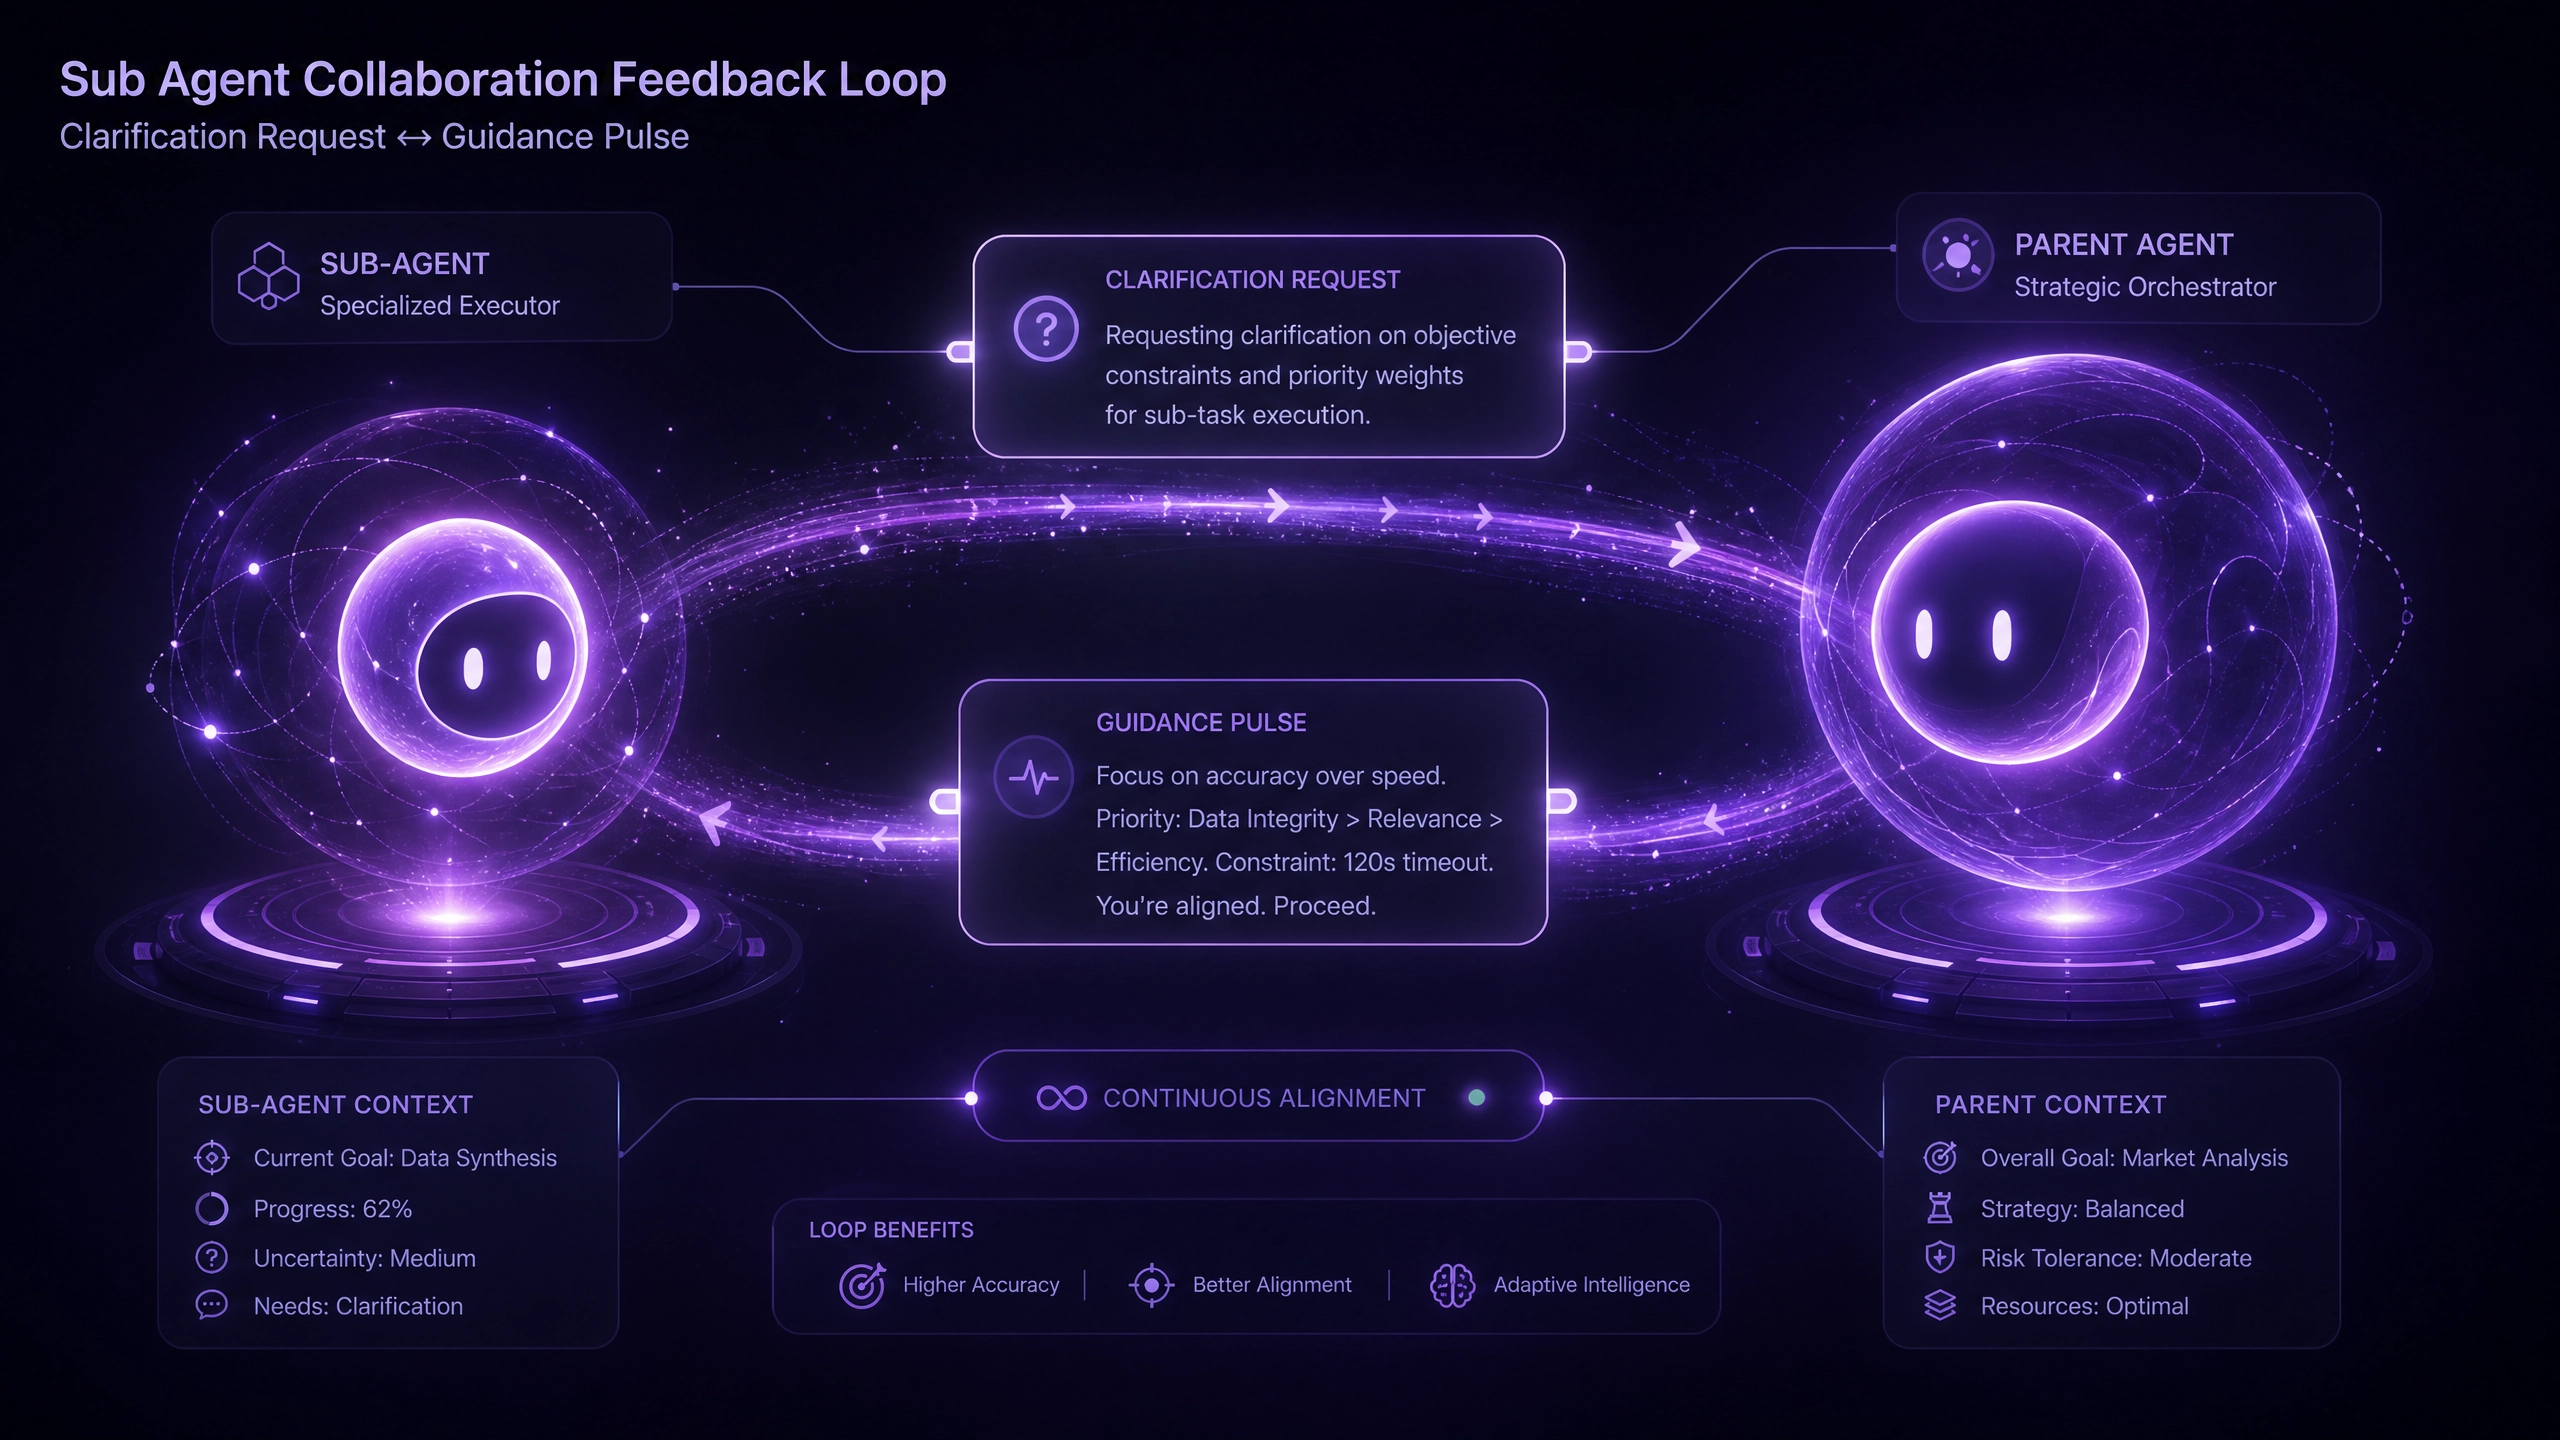
- 对话状态管理:传统程序的状态是显式的,而 Agent 需要维护隐式的对话上下文
- 工具动态调用:Agent 需要根据用户意图实时决定调用哪些外部工具 /API
- 不确定性处理:自然语言输入具有模糊性,需要设计容错机制
技术选型:主流框架对比
目前主要有两大技术路线:
- LangChain
- 优势:Python 生态完善,社区活跃,文档详尽
-
特点:基于 Chain 的思想构建复杂工作流
-
Semantic Kernel
- 优势:微软系技术栈集成好
- 特点:强调技能 (Skill) 的组合
对于新手,我推荐 LangChain + OpenAI 组合,因为:
- 学习曲线平缓
- 有大量现成工具链
- 调试工具完善
核心实现:天气预报 Agent 实战
基础结构搭建
首先安装依赖:
pip install langchain openai tiktoken然后构建基础 Agent 骨架:
from typing import List, Dict, Any
from langchain.agents import AgentExecutor, create_openai_tools_agent
from langchain_core.messages import HumanMessage, AIMessage
from langchain_core.prompts import ChatPromptTemplate, MessagesPlaceholder

class WeatherAgent:
    def __init__(self, api_key: str):
        self.llm = ChatOpenAI(model="gpt-3.5-turbo", temperature=0, api_key=api_key)
        self.tools = self._register_tools()
        self.prompt = self._build_prompt()
        self.agent = create_openai_tools_agent(self.llm, self.tools, self.prompt)
        self.executor = AgentExecutor(agent=self.agent, tools=self.tools, verbose=True)

    def _build_prompt(self) -> ChatPromptTemplate:
        return ChatPromptTemplate.from_messages([("system", "You are a helpful weather assistant"),
            MessagesPlaceholder(variable_name="chat_history"),
            ("human", "{input}"),
            MessagesPlaceholder(variable_name="agent_scratchpad")
        ])
工具注册实现
添加获取天气的真实工具:
from langchain.tools import tool
import requests

class WeatherTools:
    @tool
    def get_current_weather(location: str) -> str:
        """获取指定城市的当前天气情况"""
        # 实际项目中应该使用专业天气 API
        url = f"https://wttr.in/{location}?format=%C+%t"
        try:
            response = requests.get(url, timeout=5)
            response.raise_for_status()
            return response.text
        except Exception as e:
            return f"获取天气失败: {str(e)}"
完整交互流程
sequenceDiagram
    participant User
    participant Agent
    participant WeatherAPI

    User->>Agent: "北京天气怎么样?"
    Agent->>WeatherAPI: get_current_weather(北京)
    WeatherAPI-->>Agent: "晴 22°C"
    Agent-->>User: "北京现在是晴天,气温 22°C"
避坑指南
对话历史管理
- 黄金比例:保留最近 3 轮对话 + 关键系统提示
- 实现方案:
from langchain.memory import ConversationBufferWindowMemory

memory = ConversationBufferWindowMemory(
    k=3,
    memory_key="chat_history",
    return_messages=True
)
权限控制
- 为不同工具设置访问权限标签
- 在 Prompt 中明确限制:
SYSTEM: 你只能使用以下工具:- get_current_weather: 仅限查询天气
生产环境监控
必须监控的指标:
- 工具调用延迟(P99 < 1s)
- 每次对话的 Token 消耗
- 工具调用成功率
进阶技巧
Few-shot 学习优化
在 Prompt 中添加示例:
prompt = ChatPromptTemplate.from_messages([
    # ... 其他消息
    ("system", """
     示例对话:用户:杭州天气
     助理:调用 get_current_weather(杭州)
     结果:杭州现在是多云 25°C
     """)
])
持久化方案
低成本实现 Agent 状态保存:
import pickle

# 保存
def save_agent(agent: WeatherAgent, path: str):
    with open(path, 'wb') as f:
        pickle.dump({'memory': agent.memory.load_memory_variables({}),
            'config': agent.config
        }, f)

# 加载
def load_agent(path: str) -> WeatherAgent:
    with open(path, 'rb') as f:
        data = pickle.load(f)
    agent = WeatherAgent(**data['config'])
    agent.memory.save_context(data['memory'])
    return agent
总结
通过这个天气预报 Agent 的完整实现,我们掌握了 AI Agent 开发的核心模式。关键是要理解 Agent 与传统程序的区别在于:动态决策能力、上下文感知和工具组合使用。建议先从简单的垂直场景入手,逐步扩展 Agent 的能力边界。后续可以尝试接入更多工具,或者实现多 Agent 协作等高级功能。
正文完


