
共计 4522 个字符,预计需要花费 12 分钟才能阅读完成。

什么是 Agent 前端?
Agent 前端是一种新型的前端开发范式,专注于构建能与智能代理(Agent)进行交互的用户界面。与传统前端不同,Agent 前端需要处理更多异步交互、状态管理和复杂的数据流。智能代理可以是聊天机器人、推荐系统、自动化工具等,它们能理解用户意图并做出智能响应。
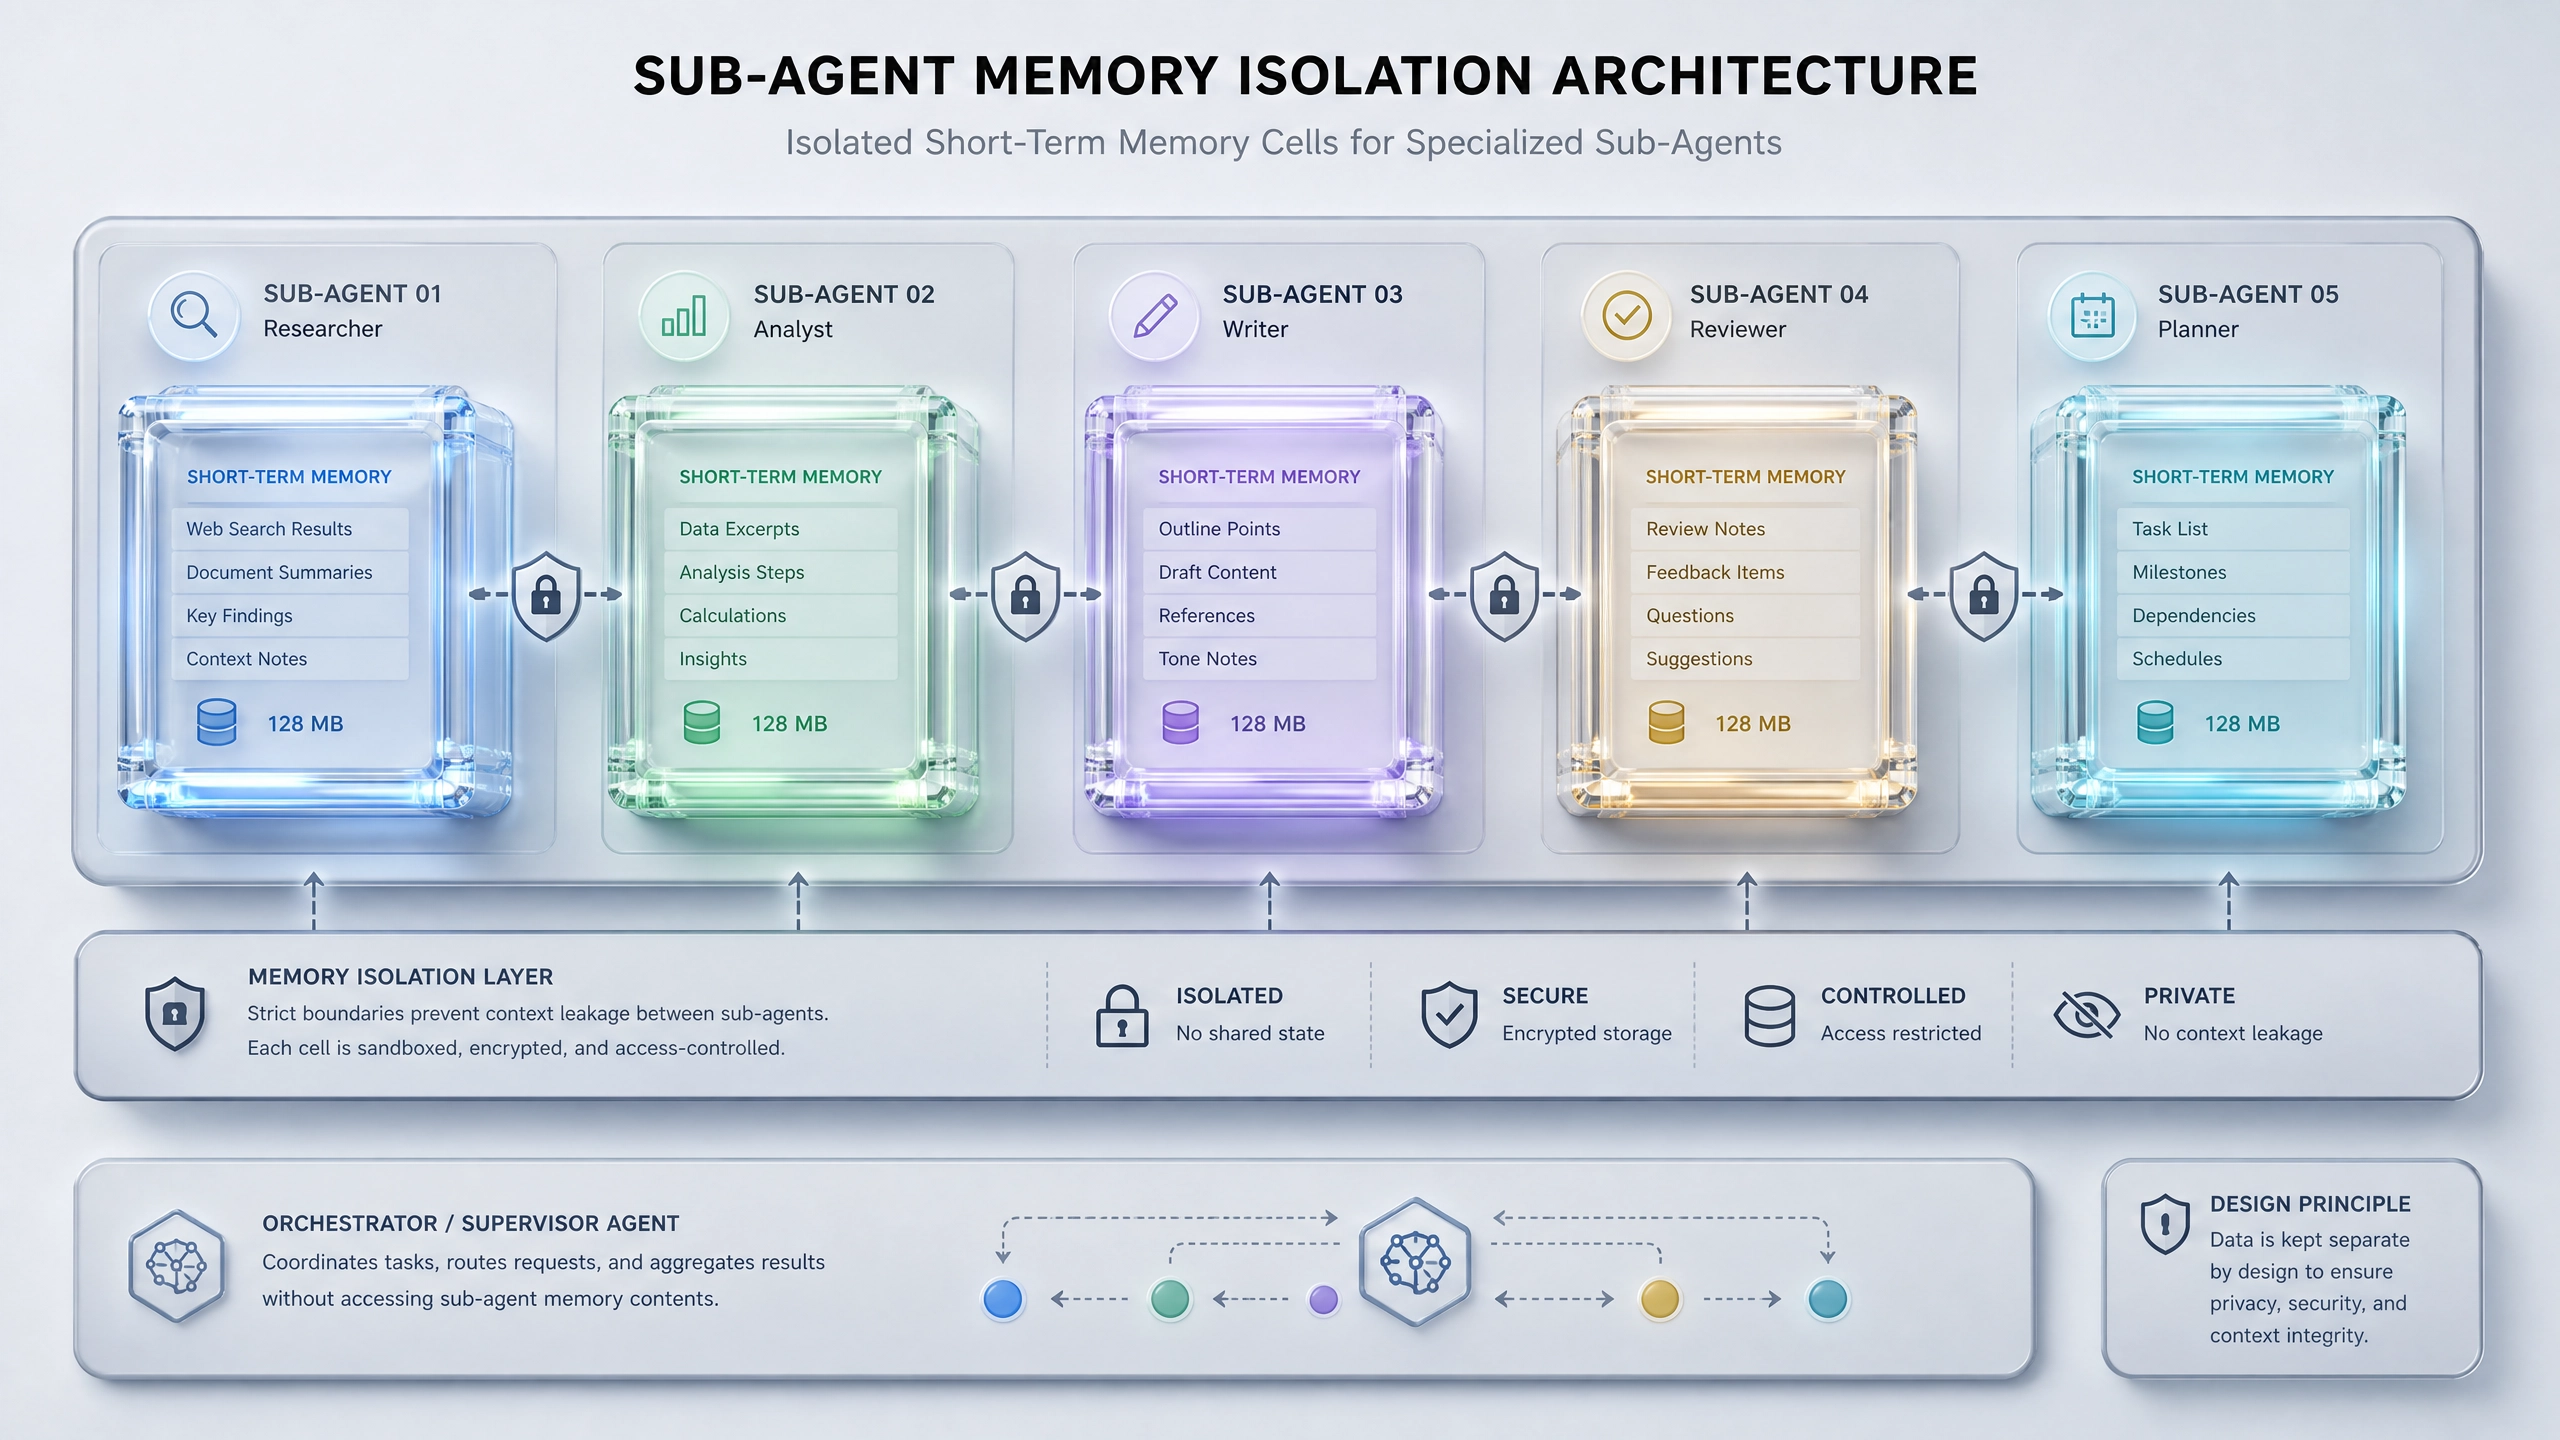
在现代应用中,Agent 前端的价值主要体现在:
- 提供更自然的用户交互体验
- 实现复杂的业务流程自动化
- 整合多种 AI 服务的能力
- 构建自适应和个性化的界面
传统前端 vs Agent 前端
与传统前端开发相比,Agent 前端有几个核心差异:
- 状态管理复杂度:Agent 前端需要维护对话历史、上下文状态等多种数据
- 异步交互:与 Agent 的通信往往是异步的,需要处理延迟、错误等情况
- 响应式设计:界面需要实时反映 Agent 的状态变化
- 数据流:数据流动是双向且持续的,而不是简单的请求 - 响应模式
基础实现:React + TypeScript
下面我们使用 React 18 和 TypeScript 来实现一个基本的 Agent 前端界面。
1. 项目初始化
首先创建一个新的 React TypeScript 项目:
npx create-react-app agent-frontend --template typescript
cd agent-frontend
npm install @types/node @types/react @types/react-dom @types/jest
2. Agent 通信接口封装
创建 agentService.ts 文件,封装与 Agent 的通信逻辑:
interface AgentMessage {
  id: string;
  content: string;
  sender: 'user' | 'agent';
  timestamp: Date;
}

class AgentService {
  private static instance: AgentService;

  private constructor() {}

  public static getInstance(): AgentService {if (!AgentService.instance) {AgentService.instance = new AgentService();
    }
    return AgentService.instance;
  }

  async sendMessage(message: string): Promise<AgentMessage> {
    // 模拟网络延迟
    await new Promise(resolve => setTimeout(resolve, 500));

    return {id: Math.random().toString(36).substring(7),
      content: `Agent 回应: ${message}`,
      sender: 'agent',
      timestamp: new Date(),};
  }
}

export default AgentService.getInstance();
3. 对话状态管理
使用 React Context 和 Reducer 来管理对话状态。创建AgentContext.tsx:
import React, {createContext, useReducer, useContext} from 'react';

type AgentState = {messages: AgentMessage[];
  isLoading: boolean;
  error: string | null;
};

type AgentAction =
  | {type: 'SEND_MESSAGE'; payload: string}
  | {type: 'RECEIVE_MESSAGE'; payload: AgentMessage}
  | {type: 'SET_LOADING'; payload: boolean}
  | {type: 'SET_ERROR'; payload: string | null};

const initialState: AgentState = {messages: [],
  isLoading: false,
  error: null,
};

function agentReducer(state: AgentState, action: AgentAction): AgentState {switch (action.type) {
    case 'SEND_MESSAGE':
      return {
        ...state,
        messages: [
          ...state.messages,
          {id: Math.random().toString(36).substring(7),
            content: action.payload,
            sender: 'user',
            timestamp: new Date(),},
        ],
        isLoading: true,
      };
    case 'RECEIVE_MESSAGE':
      return {
        ...state,
        messages: [...state.messages, action.payload],
        isLoading: false,
      };
    case 'SET_LOADING':
      return {...state, isLoading: action.payload};
    case 'SET_ERROR':
      return {...state, error: action.payload};
    default:
      return state;
  }
}

const AgentContext = createContext<{
  state: AgentState;
  dispatch: React.Dispatch<AgentAction>;
}>({
  state: initialState,
  dispatch: () => null,});

export const AgentProvider: React.FC = ({children}) => {const [state, dispatch] = useReducer(agentReducer, initialState);

  return (<AgentContext.Provider value={{ state, dispatch}}>
      {children}
    </AgentContext.Provider>
  );
};

export const useAgent = () => useContext(AgentContext);
4. 响应式 UI 组件
创建主界面组件AgentInterface.tsx:
import React, {useState, useCallback} from 'react';
import {useAgent} from './AgentContext';
import AgentService from './agentService';

const AgentInterface: React.FC = () => {const { state, dispatch} = useAgent();
  const [inputValue, setInputValue] = useState('');

  const handleSendMessage = useCallback(async () => {if (!inputValue.trim()) return;

    try {dispatch({ type: 'SEND_MESSAGE', payload: inputValue});
      setInputValue('');

      const response = await AgentService.sendMessage(inputValue);
      dispatch({type: 'RECEIVE_MESSAGE', payload: response});
    } catch (error) {dispatch({ type: 'SET_ERROR', payload: '发送消息失败'});
      dispatch({type: 'SET_LOADING', payload: false});
    }
  }, [inputValue, dispatch]);

  return (
    <div className="agent-interface">
      <div className="messages">
        {state.messages.map((message) => (<div key={message.id} className={`message ${message.sender}`}>
            <p>{message.content}</p>
            <small>{message.timestamp.toLocaleTimeString()}</small>
          </div>
        ))}
        {state.isLoading && (
          <div className="message agent">
            <p> 思考中...</p>
          </div>
        )}
      </div>

      <div className="input-area">
        <input
          type="text"
          value={inputValue}
          onChange={(e) => setInputValue(e.target.value)}
          onKeyPress={(e) => e.key === 'Enter' && handleSendMessage()}
          placeholder="输入消息..."
          disabled={state.isLoading}
        />
        <button
          onClick={handleSendMessage}
          disabled={state.isLoading || !inputValue.trim()}
        >
          发送
        </button>
      </div>

      {state.error && <div className="error">{state.error}</div>}
    </div>
  );
};

export default AgentInterface;
避坑指南
1. 异步回调处理
处理异步回调时,需要注意以下几点:
- 在组件卸载时取消未完成的请求
- 使用 AbortController 来取消 fetch 请求
- 处理竞态条件,确保显示的是最新请求的结果
2. 会话状态持久化
要实现会话状态的持久化,可以考虑:
- 使用 localStorage 或 IndexedDB 存储对话历史
- 实现会话恢复功能
- 考虑数据加密和隐私保护
3. 性能优化要点
Agent 前端性能优化的关键点:
- 虚拟化长列表渲染(如使用 react-window)
- 使用 memoization 减少不必要的重新渲染
- 批量更新状态以减少渲染次数
- 考虑使用 Web Workers 处理繁重的计算任务
进阶思考
完成基础实现后,你可以思考以下进阶问题:
- 如何实现多个 Agent 之间的协作?
- 在离线场景下,如何设计缓存策略保证用户体验?
- 开发可视化调试工具来监控 Agent 的状态和交互流程
这些问题将帮助你深入理解 Agent 前端的复杂性,并探索更高级的应用场景。
总结
通过本文,我们学习了如何从零开始构建一个基本的 Agent 前端界面。我们介绍了 Agent 前端与传统前端的区别,使用 React 和 TypeScript 实现了核心功能,并讨论了常见问题的解决方案。虽然这是一个简化版的实现,但它包含了 Agent 前端的核心概念和最佳实践。
随着 AI 技术的发展,Agent 前端将变得越来越重要。掌握这些技能将帮助你在未来的 Web 开发中保持竞争力。希望这篇文章能为你的 Agent 前端开发之旅开个好头!


